Super interesting TED Talk Video on Window farming. Via the Greenists and RNDIY





Deep Fried Papa John's Garlic Sauce
4 weeks ago


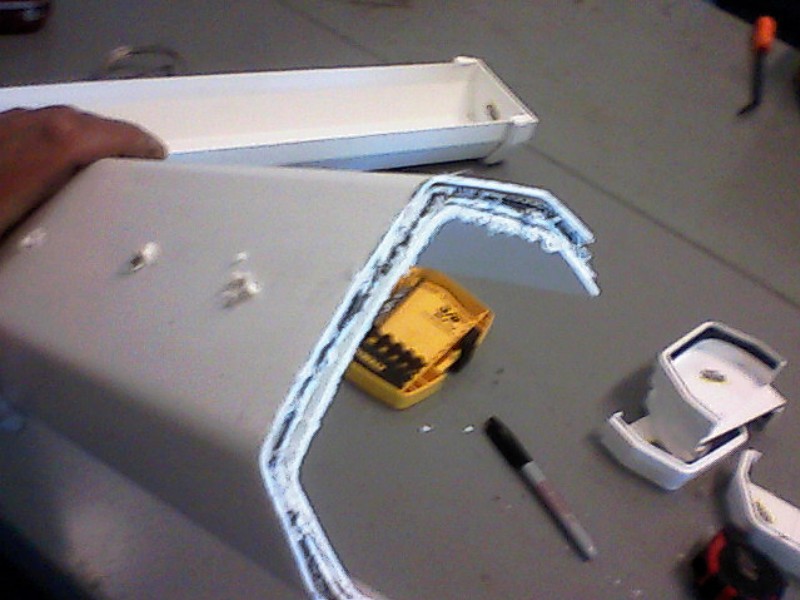
 Then I installed the end caps
 a ¼”-20 X 2” on the bottom,
 and a ¼”-20 X 4” on the upper or inside of the gutter using a coupler nut (so I have an eye hook above and one below so a person could stack the gutters by chain


 I am loving this Gutter Garden I found on Apartment Therapy~ now a really cool garden you can hang from the balcony above you! Here are the instructions from AHA! Home and Garden - and this hanging, vertical garden will be featured in the book, "Garden Up!" by Susan Morrison and Rebecca Sweet.


 My vertical garden
4. Try making a Vertical Wall garden- simple to make, just take a hanging shoe organizer, fill some used paper coffee cups with potting soile plant a few seeds in each one and Voila! a garden that not only gives you fresh veggies and herbs, but looks pretty good hanging up on your wall. Good info on making your own here
5. Try growing sprouts- Growing your own sprouts is fun and easy if you follow the six rules of sprouting:
1. Rinse often (2-3 times/day).
2. Keep them moist, not wet.
3. Keep them at room temperature.
4. Give them air to breathe.
5. Don't grow too many in one container.
6. Keep them in a dark place.
The first step is choosing which seeds to sprout. The standard sprout is the alfalfa sprout. This is the sprout often served on salads and sandwiches and your favorite restaurant or deli. However, there are many other seeds that make excellent sprouts, each with their own flavor and nutritional composition. You can sprout barley, broccoli, buckwheat, cabbage, fenugreek, garbanzo, green peas, lentils, mung beans (found in Chinese food), radishes, red clover, wheat, soy beans, sunflowers and more.
About Seeds
I have bought regular lentils and beans from the store; and they have worked fine. However, must add the following: Always use seeds packaged for sprouting. Buying bulk seeds and grains may seem cheaper than seeds packaged for sprouting, but they may not be worth it. Unless they are packaged as high-germination spouting seeds, only a portion of them will sprout. The ones that do not sprout, will likely ferment and spoil the batch. Do not use seeds meant for planting. They are often treated with chemical pesticides, fungicides and mercury coatings. Also, do not use seeds that have molds growing on them. Molds produce toxins which can cause food poisoning.
Growing sprouts in a jar:
The easiest method is to grow sprouts in a glass canning jar. Any size jar will do. To provide plenty of fresh air, cover the top of the jar with muslin, cheese cloth or nylon mesh screen and secure with a rubber band. You can also buy specially sprouting lids designed for this purpose.
Step One: Soaking
For a quart-sized jar, put 1 ½ to 2 tablespoons of small seeds (up to 1 cup if using larger seeds like green peas or garbanzo) in the sprouting jar. Cover top of jar with cloth or sprouting lid and rinse the seeds in warm (not hot) water. Drain and refill so that water is about an inch above the seeds. Let the seeds soak 8-12 hours (overnight). Protect from light by covering with a dish towel or placing in a cupboard.
Step Two: Rinsing
Rinse 2 to 3 times per day for 2 to 3 days. After thoroughly draining the rinse water, lay the jar on its side to spread out the seeds. Do not expose to light. After 2 to 3 days the sprouts should be filling up the jar.
Step Three: Removing Hulls
After 2 to 3 days the sprouts will have thrown off their hulls. To remove the hulls, place the sprouts in a bowl and run cool water over them. Most of the hulls will either float to the top or sink to the bottom making them easy to remove. (Note: not all seeds have hulls.)
Step Four: Harvesting
Rinse sprouts in cool water and remove any remaining hulls. Drain in a colander, but do not allow the sprouts to dry out. Place in an air-tight bag leaving room for air circulation. If your sprouts need to develop chlorophyll or carotene there is one final step. (The seed package directions should tell you whether greening is necessary.)
Step Five: Greening
Once the hulls are removed, place the sprouts back into the sprouting jar or into a clear plastic airtight bag. Put the sprouts in indirect sunlight. It takes about a day for the chlorophyll and carotenes to develop. Once the sprouts are ready rinse, drain, and eat, or refrigerate.
Storing: Sprouts will keep for about a week in the refrigerator if you rinse them once every day or two. Be sure to keep the sprouts from freezing as they are frost sensitive.
Seeds are easy to store. Put them an a glass jar with an air-tight lid and keep them in a cool, dark storage area. They will keep for a year or more.
Something new up, Courtesy of "Cheap Like Me" is Organic Acres, a CSA type garden where they do the work and the growing to your plans and their land; and in the Portland area- The Backyard Farmer, who will come and do your garden work for you-Both Cool Ideas.
 Thought I would take a peek at how the vertical garden was doing. As you can see things are sprouting up! I had to use a catch for the water when watering it,
 so I thought why not put a planter at the bottom to catch the water going through the vertical planter? Works out great- I think if I where to do anything different, I would use Coco Coir instead of soil or a good mix of potting soil and Coco Coir to keep in the water. I have this hanging on the south wall of the house, in a spot that gets some sun and mostly shade as it is full of plants like mustard greens and lettuce- don’t want them babies to start bolting!
 Looky here- the Nasturtiums are peeking out of their pockets!
 My vertical garden (taken with crummy cellphone camera) The original from Instructables-